No-Bake Cheesecake
About this recipe
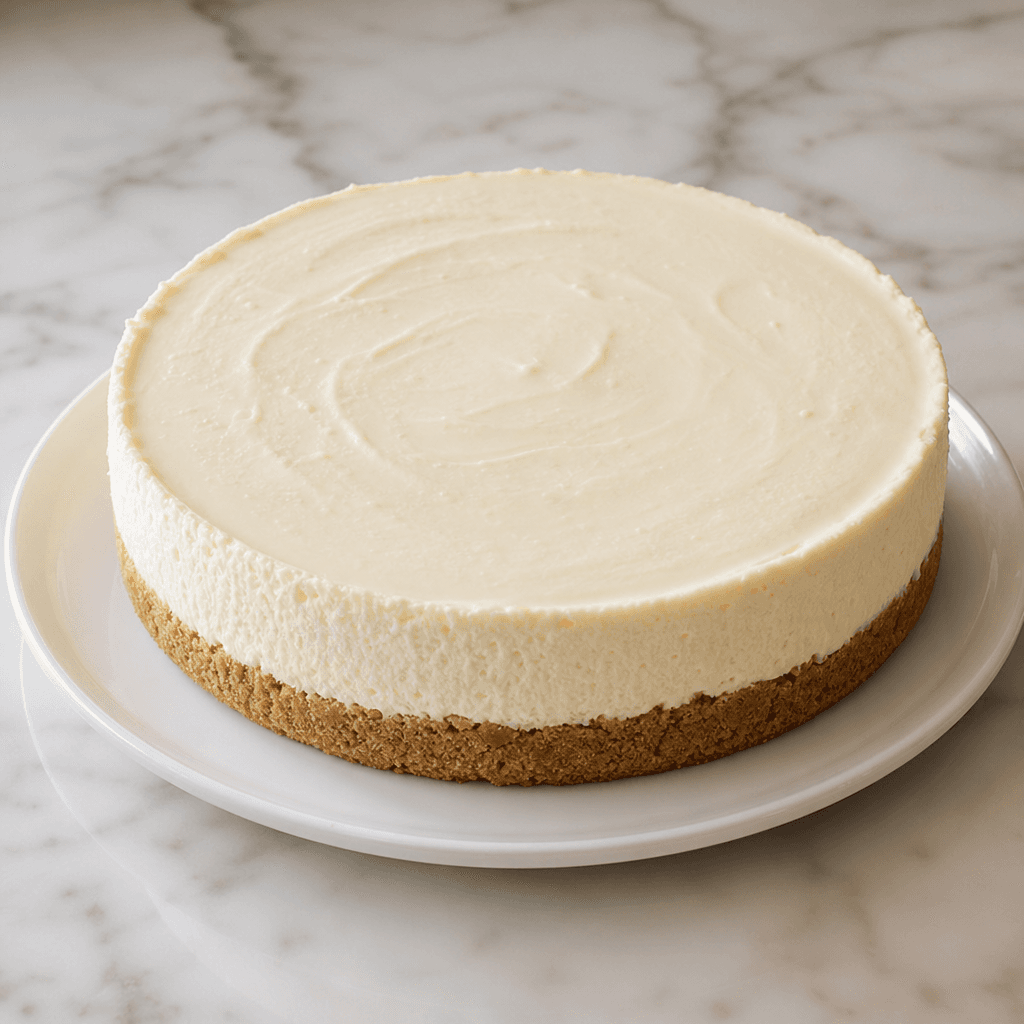
A classic, foolproof no-bake cheesecake with a buttery graham cracker crust and a silky, rich cream cheese filling that sets perfectly in the fridge — no oven required. Light yet indulgent, with a smooth, creamy texture and a satisfying crunch from the crust. Perfect for make-ahead entertaining or whenever you want a show-stopping dessert without the stress.
Instructions
- 1
Crush the Graham Cracker Crumbs into fine, even crumbs using a Food Processor, or place them in a Ziploc Bag and crush with a Rolling Pin. You need 2 cups of crumbs total.
- 2
In a Mixing Bowl, stir together the Graham Cracker Crumbs, Granulated Sugar, and Salt. Pour in the melted Butter and mix until the crumbs are evenly moistened and hold together when pressed — it should feel like wet sand.
- 3
Press the crumb mixture firmly and evenly into the bottom and about 1 inch up the sides of a 9-inch Springform Pan. Use the flat bottom of a Measuring Cups to pack it tightly. Refrigerate the crust for at least 15 minutes while you prepare the filling.
- 4
In a large Mixing Bowl, beat the softened Cream Cheese with a Hand Mixer or Stand Mixer on medium speed for 2–3 minutes until completely smooth and fluffy with no lumps. Scrape down the sides of the bowl as needed.
- 5
Add the sifted Powdered Sugar, Vanilla Extract, Lemon Juice, Lemon Zest (if using), and Salt to the Cream Cheese. Beat on medium speed for another 2 minutes until fully combined, smooth, and creamy.
- 6
In a separate cold Mixing Bowl, pour in the cold Heavy Whipping Cream. Beat with clean beaters on medium-high speed until stiff peaks form, about 3–4 minutes. The cream should hold its shape firmly when the beaters are lifted.
- 7
Add the whipped cream to the Cream Cheese mixture in two additions. Gently fold it in with a Spatula using large, sweeping motions from the bottom of the bowl upward. Stop as soon as no white streaks remain — folding gently keeps the filling light and airy.
- 8
Pour the filling into the chilled crust and spread it into an even layer with an Spatula or the back of a spoon. Smooth the top as flat as possible.
- 9
Cover the pan tightly with Plastic Wrap (without touching the filling) and refrigerate for at least 4 hours, or overnight for best results. The cheesecake needs this time to fully firm up and set.
- 10
When ready to serve, run a thin Knife or Spatula around the inside edge of the Springform Pan before releasing the latch. Carefully remove the outer ring.
- 11
Top with sliced fresh Strawberries or your preferred Berries of Choice. For a glossy finish, brush or drizzle the warmed Strawberry Jam or Fruit Preserves over the fruit. Slice with a sharp Knife wiped clean between cuts for neat slices.
60-day free trial
Cook this with your whole family on Homii
Save this recipe, plan your week, build smart shopping lists, and let Chef Mii adapt it to your household's tastes and allergies.
60-day free trial
Let Homii's AI run your kitchen
- Chef Mii plans meals around your tastes, schedule & budget
- A full week of dinners built in seconds
- Smart shopping lists, auto-organized by aisle
- Adapts every recipe for allergies & serving sizes
No credit card required