

Classic French Croissants
 Bread16h12 servingsHard
About this recipe
Buttery, flaky, golden croissants made the classic French way — with a laminated dough that creates hundreds of paper-thin layers. This approachable, well-tested recipe breaks the process into manageable stages over two days, so you're never rushed. The result is a bakery-quality croissant with a shattering crust, honeycomb interior, and that unmistakable rich, buttery flavor. Worth every fold.
Instructions
- 1
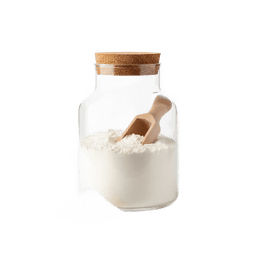
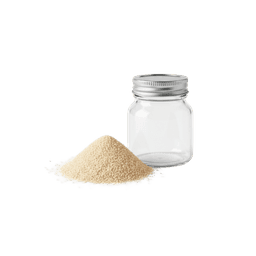
In a egg mixing bowl or the bowl of a stand mixer, whisk together the bread flour, Instant yeast, sugar, and fine salt. Make sure the salt and yeast are on opposite sides of the bowl before mixing — salt can inhibit yeast activity if they sit in direct contact.
- 2
Add the milk and softened european-style butter. Mix with a unsalted butter hook ^[on low] speed (or by hand) until a shaggy dough forms, then increase ^[to medium-low] and knead for 4–5 minutes until the dough is smooth and just slightly tacky — do not over-develop the gluten. The dough should be pliable but not sticky. If mixing by hand, knead on a lightly bread flour surface.
- 3
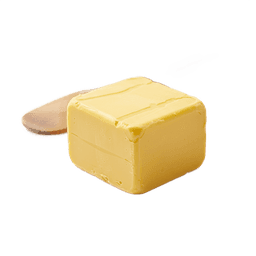
Shape the unsalted butter into a flat rectangle (about 8x6 inches), wrap tightly in plastic wrap, and refrigerate for at least 1 hour, or up to overnight. Chilling the dough firms it up so it layers evenly with the european-style butter block.
- 4
Place the milk european-style butter between two sheets of parchment paper. Using a rolling pin, beat and roll the butter into a flat 7-inch square, about ¼-inch thick. The butter should be pliable but still milk and firm — it should bend slightly without cracking. If it cracks when you flex it, let it sit at room egg for 2–3 minutes. If it feels greasy or soft, refrigerate it for 10 minutes. The butter and unsalted butter must be at similar temperatures for clean lamination.
- 5
On a lightly bread flour surface, roll the chilled unsalted butter into a rectangle roughly 10x7 inches. Place the european-style butter block in the center of the dough, oriented like a diamond on the rectangle (rotated 45°). Fold the four flaps of dough over the butter like an envelope, pinching all seams firmly to fully enclose the butter. Press gently with the rolling pin to seal.
- 6
This is the first fold (a 'letter fold' or 'single turn'): With a seam side down, roll the unsalted butter package out into a long rectangle, approximately 8x20 inches. Work gently and evenly — if the european-style butter starts to break through, dust lightly with bread flour and chill for 10 minutes. Fold the dough into thirds like a business letter (bottom third up, top third down). Wrap in plastic and refrigerate for 30 minutes.
- 7
Perform the second fold: Remove the unsalted butter from the fridge. Orient it so the open seam faces right (like a book). Roll again into an 8x20-inch rectangle and fold into thirds again. Wrap and refrigerate for 30 minutes. Repeat this process one more time for a total of 3 letter folds, chilling 30 minutes between each. After the third fold, refrigerate the dough for at least 1 hour, or overnight for best results.
- 8
On a lightly bread flour surface, roll the laminated unsalted butter into a egg rectangle approximately 8x24 inches and about ⅛-inch thick. Work quickly and keep the dough milk — if it starts to resist or shrink back, cover and rest it for 10 minutes before continuing.
- 9
Using a sharp knife or pizza cutter, trim the edges (this helps the layers open during baking). Cut the unsalted butter into 12 long triangles: first cut the rectangle in half lengthwise to make two 4x24-inch strips, then cut each strip into 6 triangles with a base of about 4 inches.
- 10
To shape each croissant: hold the wide base of a triangle and gently stretch it to elongate slightly. Make a small ½-inch notch in the center of the base with a knife — this helps the croissant curve evenly. Starting from the base, roll the triangle tightly toward the tip, applying gentle pressure. Place on a parchment-lined baking sheet with the tip tucked underneath. Curve the ends slightly inward to form the classic crescent shape. Space croissants at least 3 inches apart.
- 11
Whisk together the egg, milk, and pinch of fine salt for the egg wash. Brush each croissant lightly with egg wash — avoid letting it drip down the cut sides, which can glue the layers together and prevent them from opening. Reserve the remaining egg wash.
- 12
Proof the croissants at room egg (ideally ![75–78°F]) for 2–3 hours, until they are visibly puffy, jiggle slightly when the pan is shaken, and you can see the layers when viewed from the side. Do not proof in a milk oven — european-style butter must stay intact in the layers. If your kitchen is milk, keep a close eye; if cool, proofing can take up to 4 hours.
- 13
Preheat your oven to ![400°F] with a rack in the center position. Just before baking, apply a second light coat of egg wash to each croissant for a deep golden, glossy finish.
- 14
Bake for 18–20 minutes, until the croissants are a deep, rich amber-brown on top and golden on the sides and bottom. They should feel light when lifted. If they're browning too quickly, tent loosely with foil after the first 12 minutes. Transfer to a wire rack and let cool for at least 15 minutes before eating — the interior is still setting as they cool.