

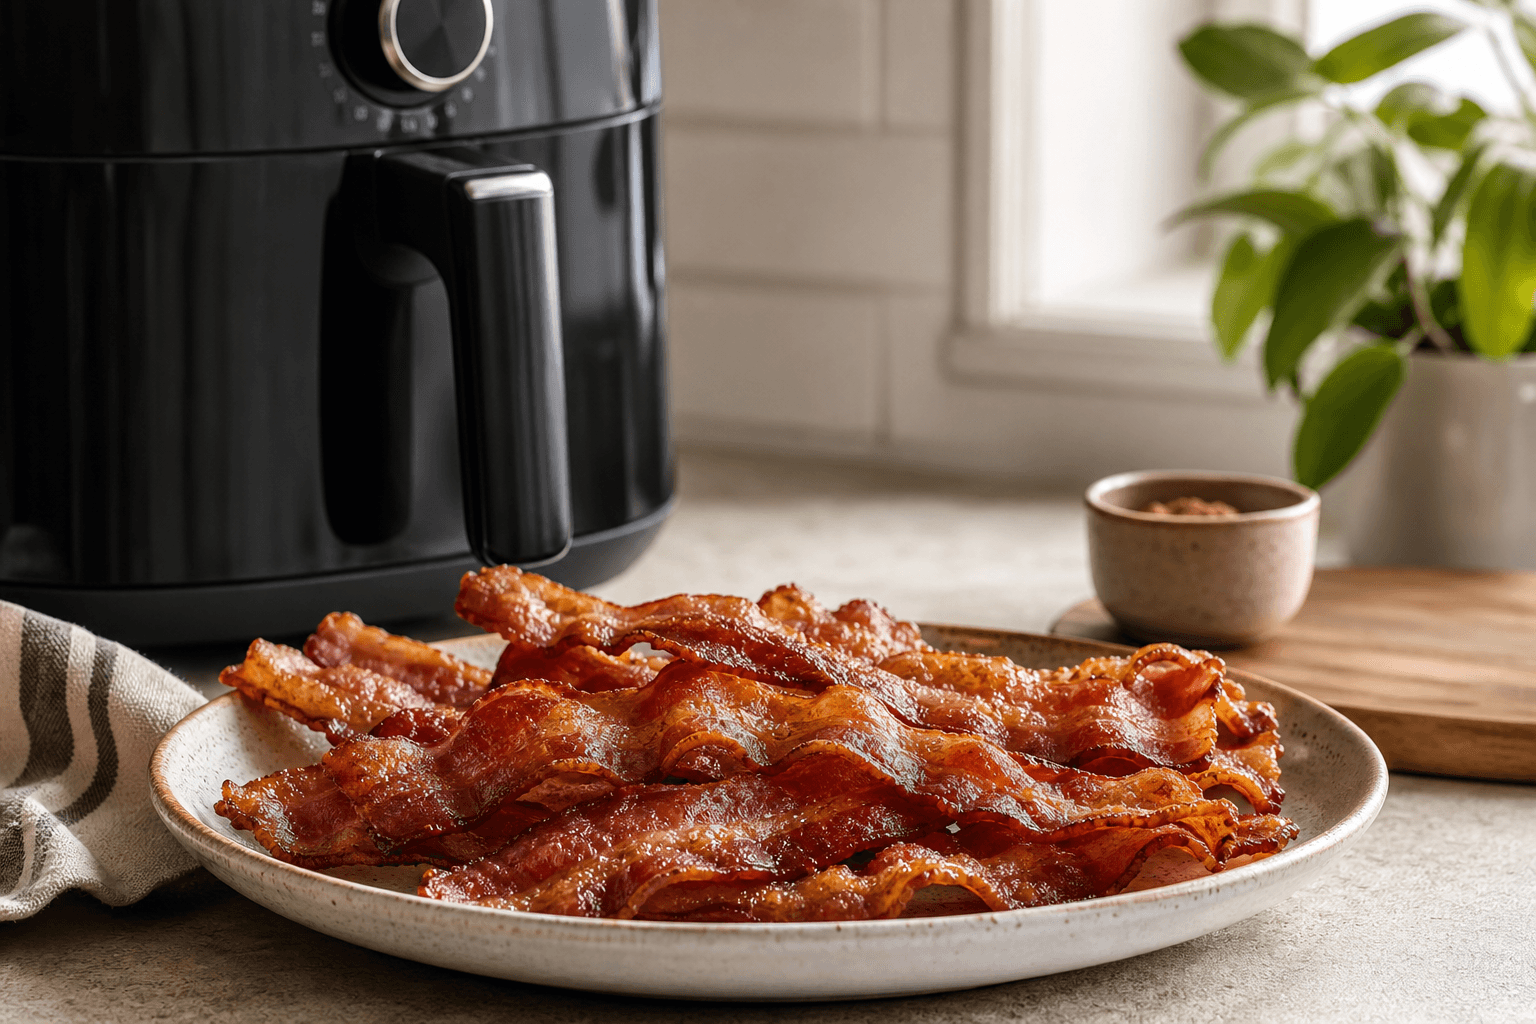

Cada variante se basa en un método y un equipamiento concretos. Elige una y las instrucciones, los ingredientes y las acciones de abajo se actualizarán.
Objetivo de cocina
- Tiempo total
- 11 min
- Cocinar a
- 177°C
- Temp. interna
- 63°C
- Pull at
- 61°C
- Cocción
- 7–11 min
Expect ~3°F rise while resting
Objetivo de cocina
- Tiempo total
- 11 min
- Cocinar a
- 177°C
- Temp. interna
- 63°C
- Pull at
- 61°C
- Cocción
- 7–11 min
Expect ~3°F rise while resting
Raciones
4
Raciones
4
 450 g Bacon
 Salt
 Olive Oil
- 450 g Bacon
- Salt
- Olive Oil

Air Fryer
Necesario para este método
Air Fryer
Necesario para este método
Instrucciones
- 1
Prep Bacon for the Air Fryer
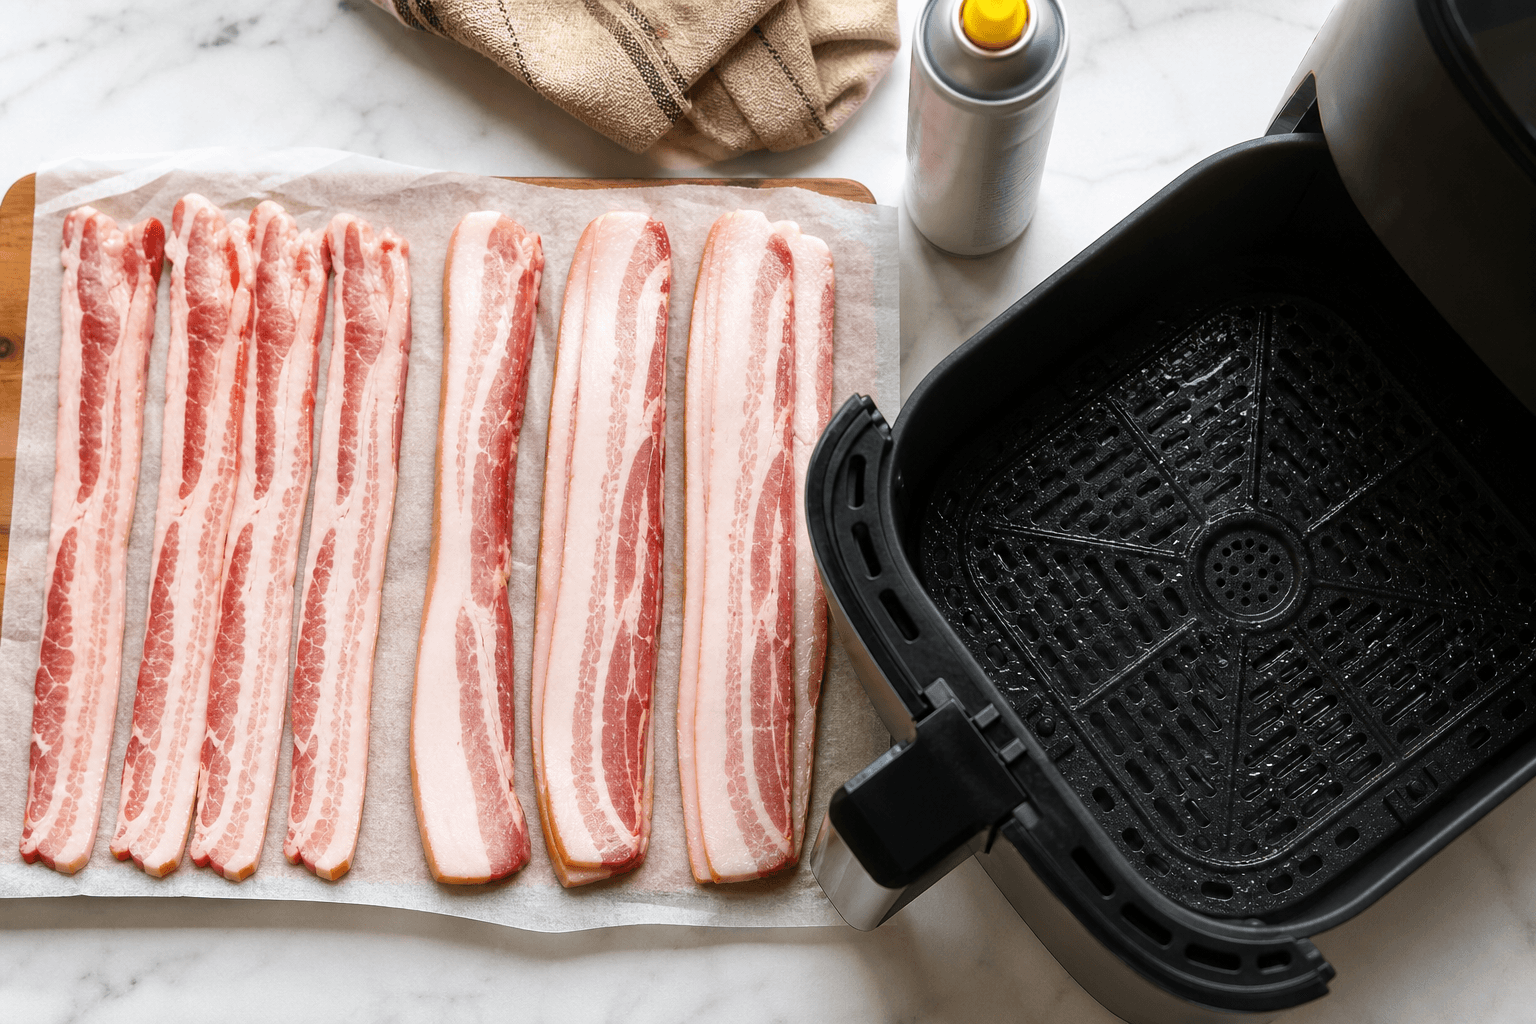
Pull bacon from the fridge a few minutes early — optional, but helps strips lie flat. Note whether you have regular-cut or thick-cut; they have different cook times. Lightly spray the basket with cooking spray for easier cleanup. Do not block airflow with foil or parchment. Set a paper towel-lined plate nearby for draining.
- 2
Air Fryer Bacon: Temp, Time, and Spacing
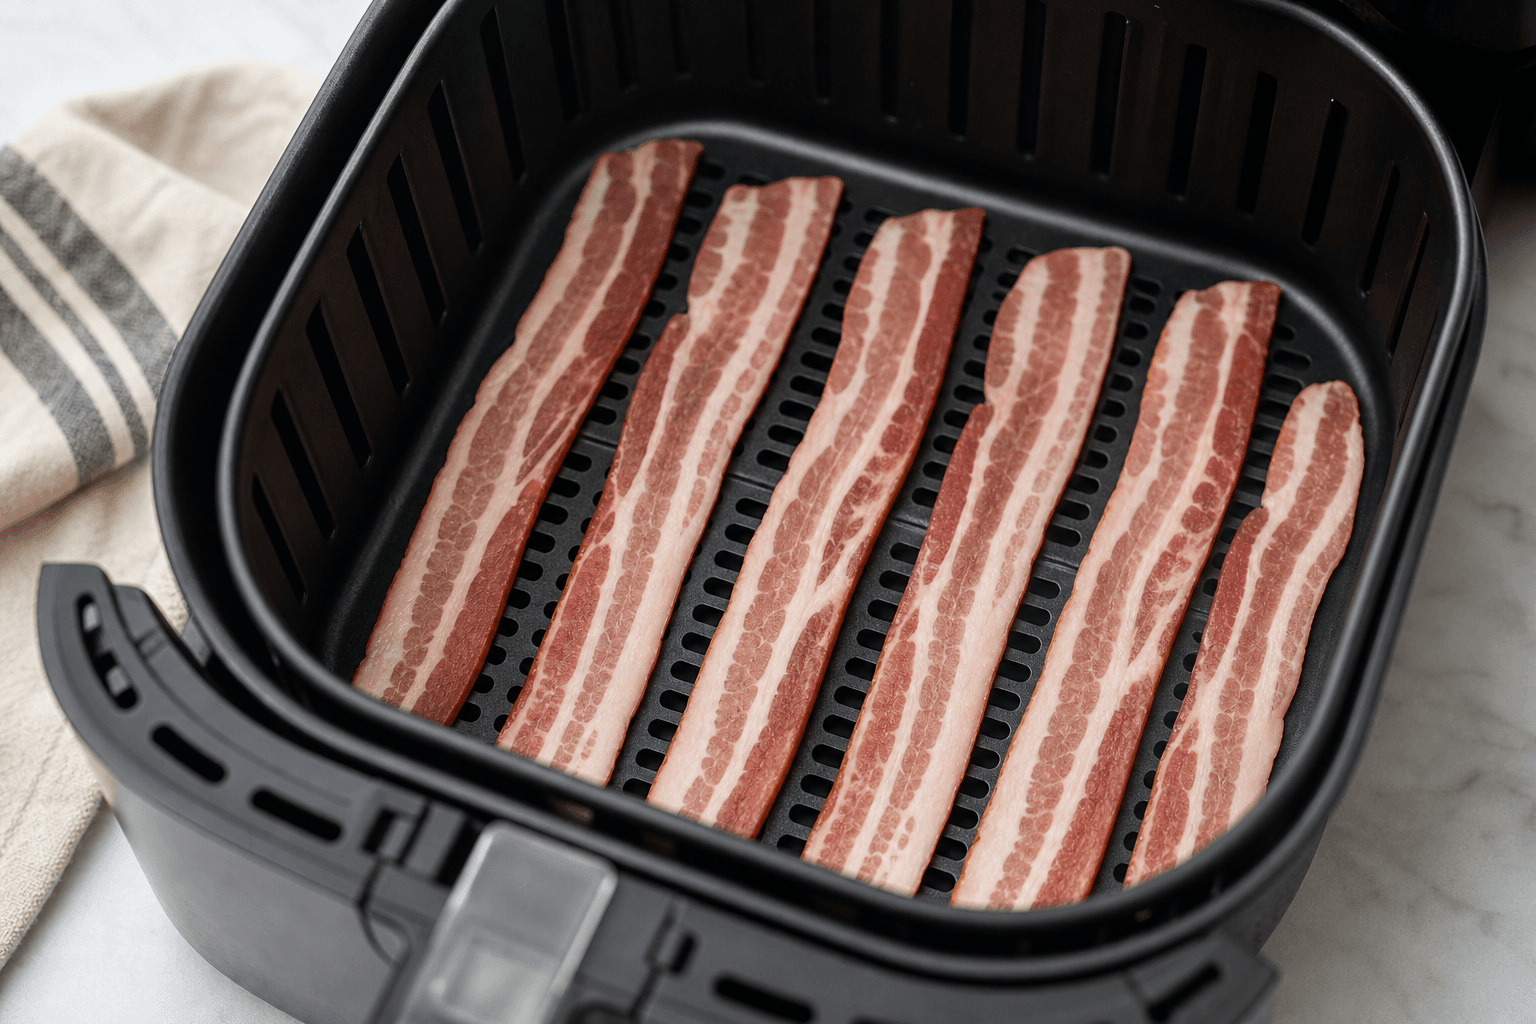
Set air fryer to 177°C. Arrange strips in a single layer — no overlapping. For regular-cut bacon, cook 7–9 minutes. For thick-cut, cook 10–14 minutes. Check at the low end of the range since air fryers vary. Rearrange strips at the halfway point if some are browning faster; flipping is not required. Between batches, drain or blot accumulated grease from the basket to prevent smoking.
- 3
Doneness and Serving
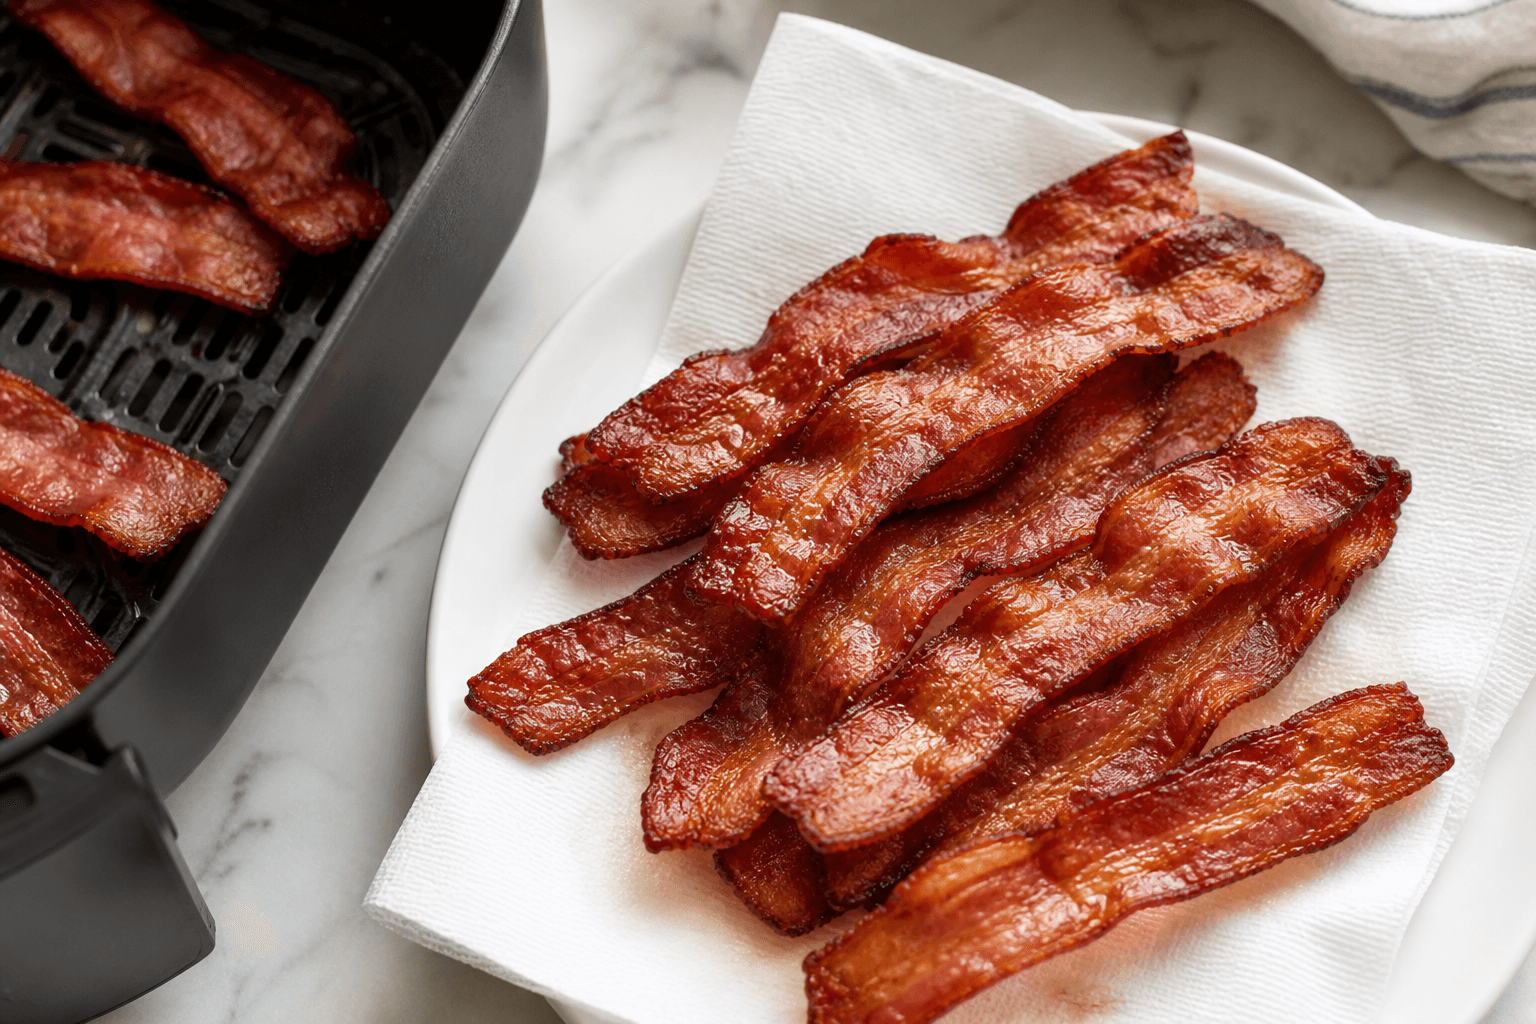
Bacon is done when deep reddish-brown and visibly crispy with rendered fat — use this as your primary cue over a thermometer. USDA minimum internal temp is 63°C, but fully cooked strips will exceed this. Transfer to a paper towel-lined plate and rest 1–2 minutes; bacon crisps further as it cools. Don't stack hot strips — trapped steam softens the texture. Serve immediately for best crunch. Refrigerate leftovers in an airtight container up to 4 days. Tip: don't pull strips early just because they look done — they'll crisp more on resting.
Organización de eventos
¿Organizas una cena? Coordina quién trae qué
Crea una página de inscripción que puedes compartir para comidas compartidas y comidas en grupo: los invitados confirman, eligen platos y ven los huecos libres.
- Un único enlace para compartir, sin caos de hojas de cálculo
- Los invitados confirman, indican cuántos van y eligen justo lo que llevan
Prueba gratis de 60 días · Sin tarjeta de crédito