
抹茶芝士蛋糕
 甜点5小时35分钟12 份中等
关于此食谱
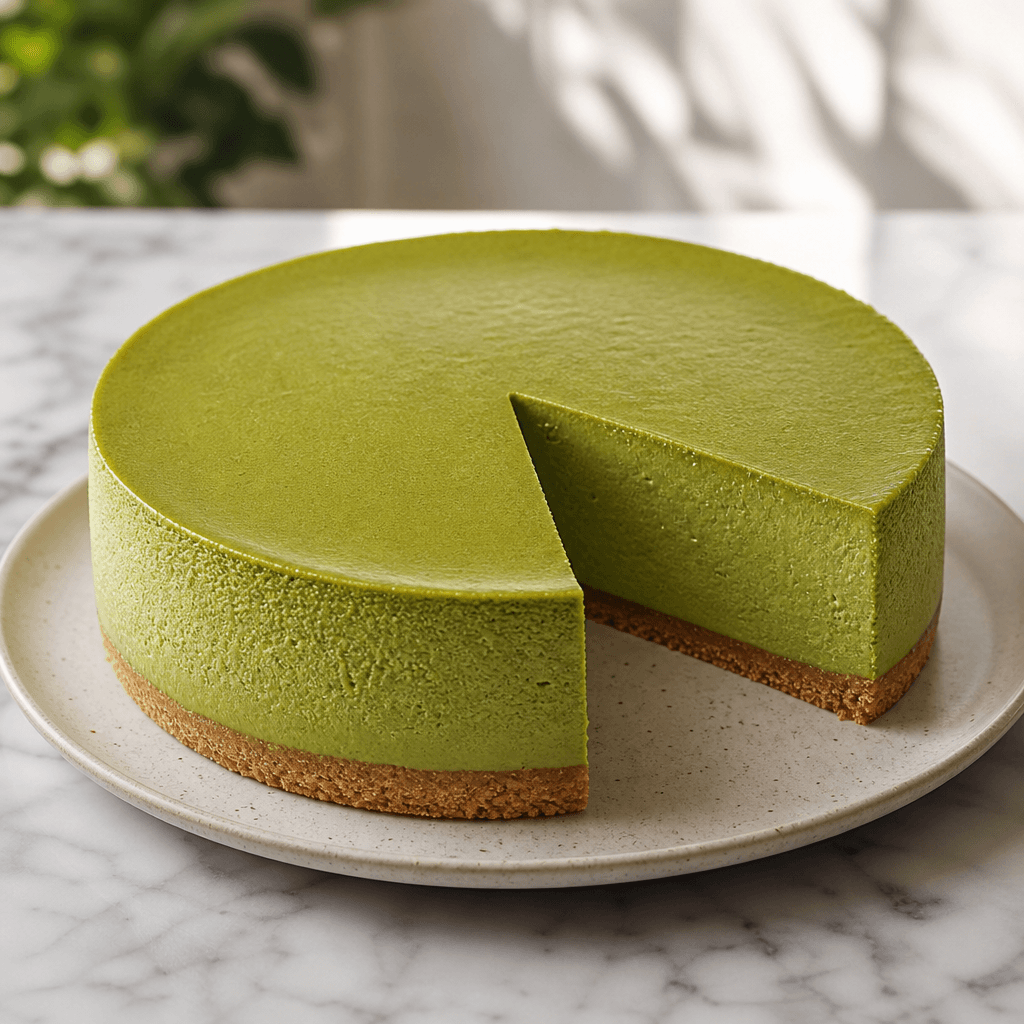
一款丝滑、奶油质地的日式风味芝士蛋糕,具有深层、泥土般的抹茶风味和黄油graham饼干皮。在水浴中低温慢烤,每次都能烤出完美光滑、无裂纹的顶部。口感丰富又平衡,甜度恰到好处,完美衬托微苦的绿茶风味——这是一款优雅、易讨人喜欢的甜点,看起来远比实际操作复杂。
步骤说明
- 1
Preheat your Oven to ![325°F]. Wrap the outside of a Springform Pan tightly with two layers of Aluminum Foil, covering the bottom and sides completely. This prevents water from seeping in during the water bath.
- 2
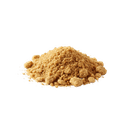
In a Mixing Bowl, stir together the Graham Cracker Crumbs, Granulated Sugar, melted Butter, and a pinch of Salt until the mixture resembles wet sand and holds together when pressed.
- 3
Press the crumb mixture firmly and evenly into the bottom of the prepared Springform Pan, using the flat bottom of a Measuring Cups to compact it. Bake for 10 minutes until lightly set, then set aside to cool slightly.
- 4
In a small bowl, sift the Culinary-Grade Matcha Powder through a Sieve to remove any lumps. Set aside.
- 5
Using a Stand Mixer or Hand Mixer on ^[medium speed], beat the room-temperature Cream Cheese until completely smooth and fluffy, about 2–3 minutes. Scrape down the sides of the bowl well.
- 6
Add the Granulated Sugar and beat on ^[medium speed] for another 2 minutes until light and well combined. Scrape the bowl again.
- 7
Add the sifted Matcha Powder, All-Purpose Flour, and Salt. Beat on ^[low speed] until fully incorporated and the mixture is uniformly green with no streaks.
- 8
Add the Sour Cream, Heavy Cream, and Pure Vanilla Extract. Mix on ^[low speed] until just combined and smooth.
- 9
Add the Eggs one at a time, beating on ^[low speed] after each addition just until incorporated. Do not over-mix after adding the eggs — over-beating incorporates too much air and can cause cracks.
- 10
Pour the matcha filling over the pre-baked crust and smooth the top with a Spatula. Gently tap the pan on the counter a few times to release any air bubbles.
- 11
Place the Aluminum Foil-wrapped Springform Pan inside a large Roasting Pan. Carefully pour hot (not boiling) water into the Roasting Pan until it reaches about 1 inch up the sides of the Springform Pan. This water bath (bain-marie) ensures gentle, even heat for a crack-free cheesecake.
- 12
Bake at ![325°F] for 55–65 minutes. The cheesecake is done when the edges are set and the center still has a slight jiggle — like Jell-O, not liquid. The center will firm up as it cools.
- 13
Turn off the Oven and crack the Oven door open about 1 inch. Let the cheesecake cool in the Oven for 1 hour. This gradual cooling prevents sudden temperature changes that cause cracks.
- 14
Remove the cheesecake from the water bath and peel off the Aluminum Foil. Run a thin Knife or Spatula around the edge of the pan to loosen the cheesecake. Let it cool completely on a Wire Rack at room temperature, about 1 hour.
- 15
Cover the cheesecake loosely and refrigerate for at least 4 hours, or overnight for best results. The texture improves significantly after a full overnight chill.
- 16
When ready to serve, remove the Springform Pan ring. Dust the top lightly with sifted Matcha Powder using a Sieve for a beautiful finish. Slice with a sharp Knife, wiping the blade clean between cuts. Serve with Heavy Cream whipped to soft peaks if desired.